Farmer-style Vegetable Soup
Ok kids, I know I’ve kind of fallen behind a little bit. However, I didn’t want to skip over week 2, because it was my favorite week thus far. There happened to be a heat wave in NYC and it was over 100° outside almost everyday, but I loved every minute in the kitchen that week.
Every recipe was like a little science experiment, except fun. (I didn’t really care for science and math in school.) I actually kept wondering why they don’t make sauces in science classes in schools to make heat and emulsion concepts more accessible . . . and delicious.
The basic building block for almost all of the sauces, soups, stews, and a lot of dishes we’ve done since is stock. Now, Greg and I have been making stocks at home for years. This is actually Greg’s favorite thing to do in the kitchen. He doesn’t cook as often as he used to anymore, but he still makes the stock in our house since he finds it really relaxing and loves the homey smells it creates. He basically throws a bunch of roasted bones (you can make stock from pretty much any type of bone) in a pot with veggie scraps, and boils the hell out them for hours until every last bit of collagen has been extracted and the bones almost fall apart.
I learned, however, that making restaurant quality stock is very different process. Since you’re essentially making a flavor base that will carry through many dishes, you need that flavor and the appearance of the stock to be very consistent and pure. There are precise ratios for bones to vegetables to follow. (Vegetables should be about 20% the weight of the bones.) There are also different cooking times for different kinds of stocks, and contrary to our method, you should never, ever boil the stock as that brings out impurities. The stock should be simmered to allow the impurities to gently rise to top of the pot, so that you can skim them off often and create a beautiful, clear liquid.
For most home cooking purposes, though, I really don’t think you have to worry about creating a perfectly clear stock. Even our super haphazard system creates a far more delicious product than the boxed versions. Plus, I would never want deprive Greg of his favorite culinary activity.
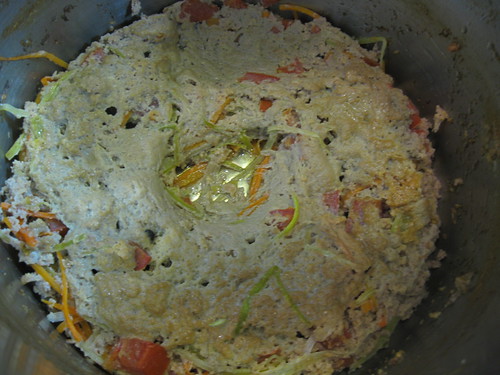
One of the fun experiments you can do with a properly made stock is to make a consommé, which is created by reducing a base stock and clarifying it further. This results in an absolutely pristine, translucent broth with really intense flavor. To first step in making a super clear stock, it to make a huge mess and add in a bunch of stuff that you would never think could create anything pretty. A mash of lean ground meat, shredded veggies (julienned carrots, leeks, onions, and chopped tomatoes to be specific), and egg whites (3 egg whites per liter of liquid) are dumped into the stock and brought up to a simmer. Soon, all of this junk you just dumped in begins to rise to the top to form a “raft,” which traps all the nasty impurities from the stock like magic.
Nasty raft leftovers
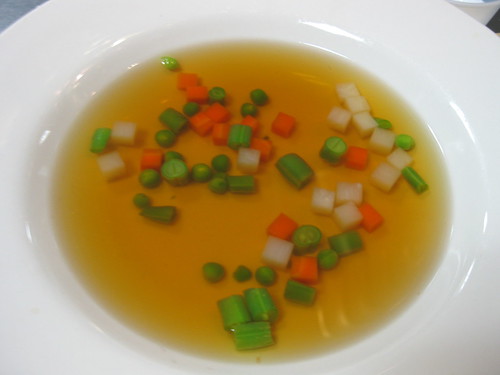
This mess is allowed to simmer for 40 min to an hour, after which you ladle out the newly clarified broth through a little hole in the raft through. The broth is strained again and any remaining fat is skimmed off with a paper towel. What it left is a gorgeous consommé.
Beautiful beef consomme with vegetable garniture
We created a lot of other sauces and soups that week, most of which involved a lot of butter and a lot of salt. I’ve spent years subtracting these ingredients from my diet, and now they’re back and making up for lost time. (Greg is happy.) French cooking involves A LOT of salt. “Seasoning” a preparation is synonymous with salting. Usually, I take a recipe and get it to the point I like it, and then add one or two big pinches before presenting it to Chef. Nonetheless, I’m still told about half the time that I need to add more.
Many of these little sauce experiments revolved around creating emulsions that force oils and acids to play nice. In some cases, I learned that I’d rather just leave this task to the professionals. There is just no need to put yourself through the aggravation at home.
I’m talking about you Hollandaise Sauce. You’re a bitch and you know it!
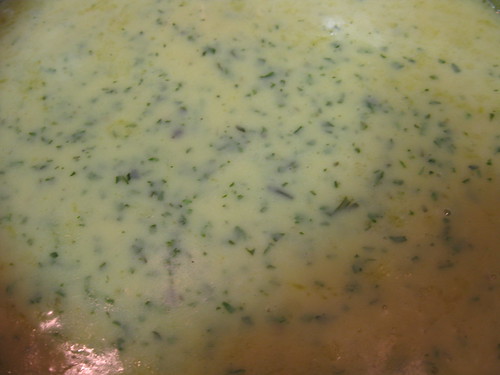
Hollanadaise Sauce is finicky as hell. It gets mad if it’s too hot, or if it’s too cold, if you incorporate its elements too quickly, or if you add them into slowly. Once you do something it doesn’t like, it breaks and turns into a nasty oily, eggy mess. It also can’t be stored. So far I have a 50/50 rate on this one. My first attempt broke on me in class, but we managed to bring it back. I was more successful with my second attempt, which later became a béarnaise sauce.
Bernaise Sauce
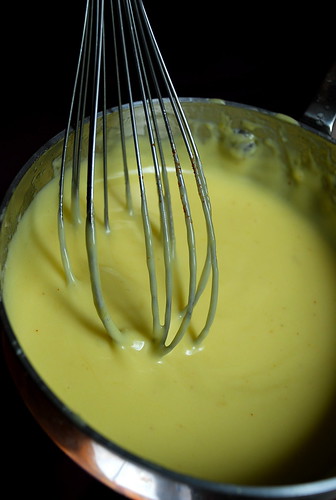
I decided to give it another try at home over the weekend. Again my first attempt broke, but the second try yielded a luscious, velvety cream.
Bechamel sauce at home
I plated our brunch of delicious poached eggs on a bed of crispy potatoes and gave each a little dollop of the buttery sauce. As soon as the plates were ready, the sauce remaining in the pot broke almost immediately.
Crispy potato benedict
I’m sure I’ll have to make hollandaise again many times for school, but other than that, I think I will save enjoyment of this sauce for brunches out. (Supposedly, it is also easier to make hollandaise in larger quantities.)
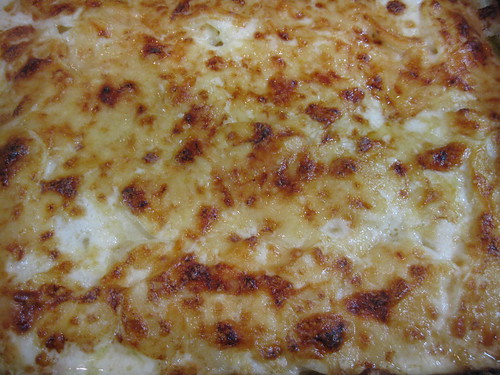
If there is one sauce that I do recommend learning if you don’t already, it’s béchamel. It is very simple to make and it is the key to transforming all kinds of yummy comfort foods like mac and cheese and potatoes au gratin. Adding béchamel took my lasagna to a whole new level. You can also just add in veggies and herbs and spoon over proteins or pasta. It is basically a blank canvas onto which you can project your cream sauce dreams.
Potatoes au Gratin
I will leave you with the recipe, as we made it in class:
Béchamel Sauce
Yield: 1 Litter
50 g (2 oz) butter
50 g (2 oz) all-purpose flour
1 L (approximately 1 quart) milk
Salt
Cayenne pepper, optional
Freshly grated nutmeg, optional
10 g (1/2 oz) butter
1. Melt the butter in a saucepan over low heat, slowly add the flour, and stir to combine. This creates a roux.
2. Cook roux for 1 to 2 min, or until the mixture becomes frothy. Remove from heat and set aside to cool briefly. The roux should not color.
3. Add the milk to the roux, while whisking well. Return the saucepan to the heat and bring the mixture to a boil. (Any starch that is added to a sauce must come to a boil to achieve full thickening power.)
4. Lower the heat and simmer for 10 to 15 minutes, stirring often. Season with salt, cayenne pepper, and nutmeg, if using.
5. Strain the sauce. Dot the surface of the sauce with butter and serve. (This is called to monter au buerre.) If sauce is to be set aside, place plastic wrap or buttered parchment paper lightly on the surface to prevent a skin from forming.
Cut and burn count: 1 burn. Accidentally, placed my thumb onto a heated plate. Very silly.





My dear -- I would give anything to have your brain right now. Through virtual osmosis, please send me your genius.
ReplyDeleteI'm not even going to wish you luck with studying because you don't need it. Your knife skills will continue to develop so no worries there. You rock, and that's all you need to know.
Cheers to you my friend. Great post.
And I wish I had your ability to cocotte beautifully and fast as lightening! ;-)
ReplyDeleteMmmm...sauces. I'm catching up on the posts. The sauces were the best part of eating out in France. I would practically lick my plate clean at every meal. That and the plate of fromage sec in between the main course and dessert.
ReplyDeleteOh man I love sauces - especially béchamel! I love anything that uses it as a base, like mushroom sauces. And Mac n cheese mm mm. This is basically my cook style: I make a cream or slow-cook red sauce and then stick something boring under it. I used to keep a basic marinara and a béchamel frozen in big freezer bags. But then baby came and I keep breastmilk in those instead. Sigh.
ReplyDelete